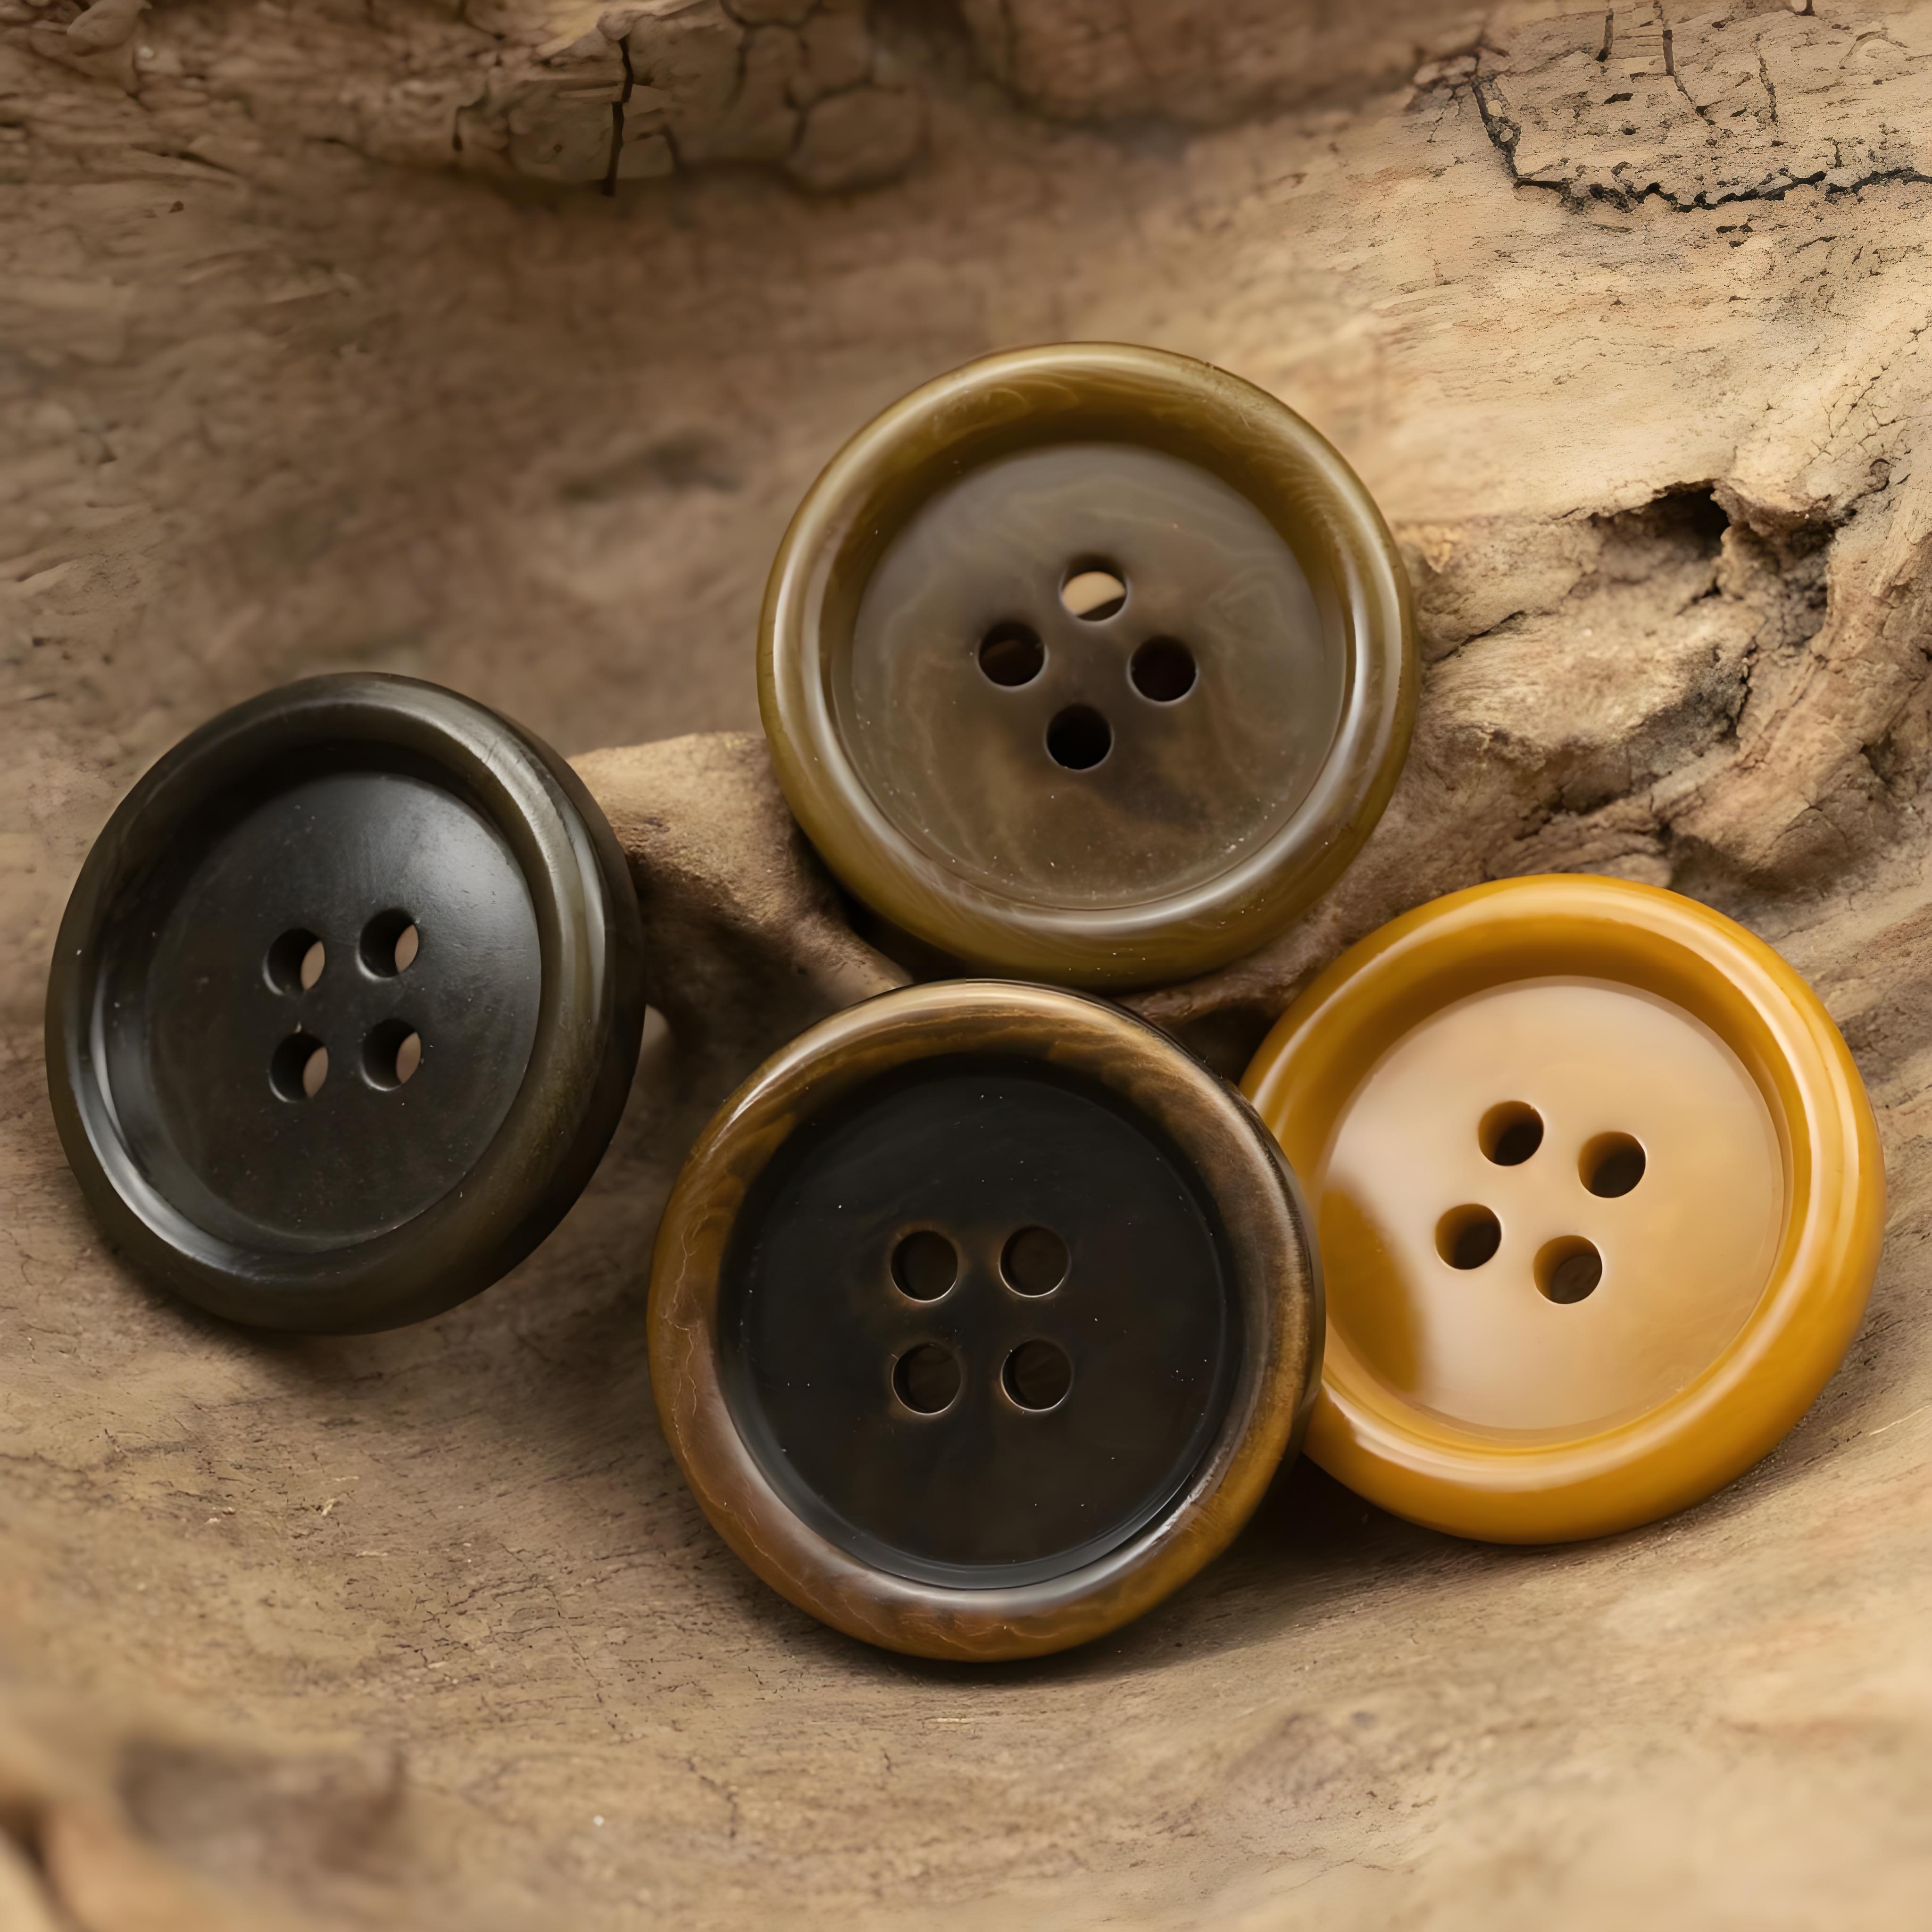
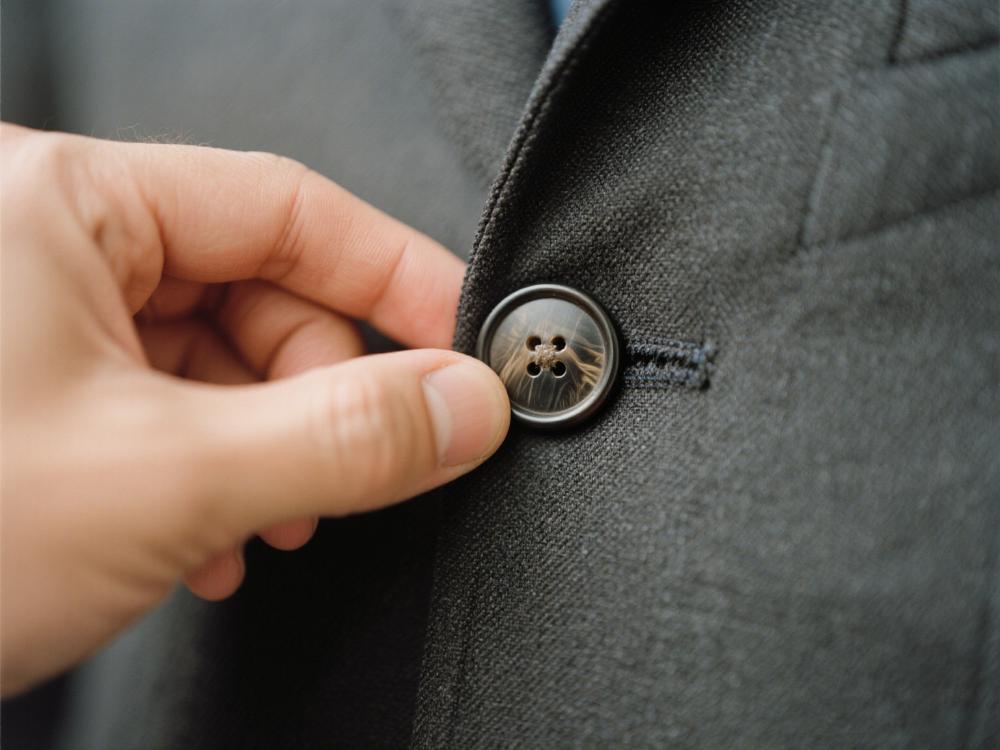
How to Make Resin Buttons
Introduction
Resin buttons are not only functional but also add a unique, handmade touch to your clothing or crafts. They can be customized in various colors, shapes, and with different inclusions. In this blog post, we'll guide you through the process of making your own resin buttons.

Materials and Tools Needed
Materials
-
Resin and Hardener: A high - quality two - part epoxy resin is essential. Make sure to follow the mixing ratio specified by the manufacturer.
-
Pigments or Dyes: For adding color to your resin buttons. You can choose from a wide range of liquid or powder pigments.
-
Inclusions (Optional): Small dried flowers, glitter, mica flakes, or even small pieces of fabric can be added to make the buttons more interesting.
-
Button Molds: These can be silicone molds in various button - like shapes such as round, square, or flower - shaped.
Tools
-
Mixing Cups: Disposable plastic or paper cups are great for mixing the resin and hardener.
-
Stirring Sticks: Wooden or plastic sticks to stir the resin and hardener thoroughly.
-
Gloves and a Mask: Resin can be harmful if it comes into contact with your skin or if you inhale the fumes, so protective gear is a must.

Step - by - Step Process
Step 1: Prepare Your Workspace
Find a well - ventilated area and cover your work surface with a disposable tablecloth or newspaper to protect it from resin spills. Put on your gloves and mask.
Step 2: Mix the Resin and Hardener
Pour the appropriate amount of resin and hardener into a mixing cup according to the manufacturer's instructions. Usually, it's a 1:1 or 2:1 ratio. Stir the mixture slowly and thoroughly for about 3 - 5 minutes to ensure a homogeneous blend. Be careful not to create too many bubbles.
Step 3: Add Color and Inclusions (Optional)
If you want colored buttons, add a few drops of your chosen pigment or dye to the mixed resin and stir gently. If you're using inclusions, sprinkle them into the resin now. For example, if you're using dried flowers, place them carefully in the resin so they are evenly distributed.
Step 4: Pour the Resin into the Molds
Slowly pour the resin mixture into the button molds, filling them to the brim. Use a toothpick or a small stick to pop any remaining bubbles on the surface of the resin in the molds.
Step 5: Let the Resin Cure
Leave the molds in a warm, dust - free place for the resin to cure. The curing time can vary depending on the type of resin, but it usually takes 24 - 48 hours.
Step 6: Remove the Buttons from the Molds
Once the resin has fully cured, gently peel the silicone molds away from the buttons. If there are any rough edges, you can sand them down gently with fine - grit sandpaper.

Finishing Touches
You can add a layer of clear varnish or a sealant to the buttons to give them a more polished look. You can also use them as they are and sew them onto your favorite garments or use them in other craft projects like making keychains or jewelry.
Conclusion
Making your own resin buttons is a fun and rewarding DIY project. With a little patience and creativity, you can create unique buttons that stand out. So, gather your materials and start making your own resin buttons today!

Dongguan Fengcai Button Co., Ltd. founded in 2009, is an integrated of research and development, production and sales service and well-known large garment accessories enterprises, which is located in the famous international manufacturing city--Dongguan city of China. Fengcai Button adheres to the goals of collectivization and international development, always value "quality of survival, credibility of development, efficiency to win market" business strategy, with its strong R&D and marketing capabilities, currently worked as China button manufacturing industry leading ranks.
"Quality decoration to achieve classics" is same faith of Fengcai Button!


How to Make Custom Horn Button
How to tie a button up shirt
Related Article