How to Make Custom Horn Button
Introduction
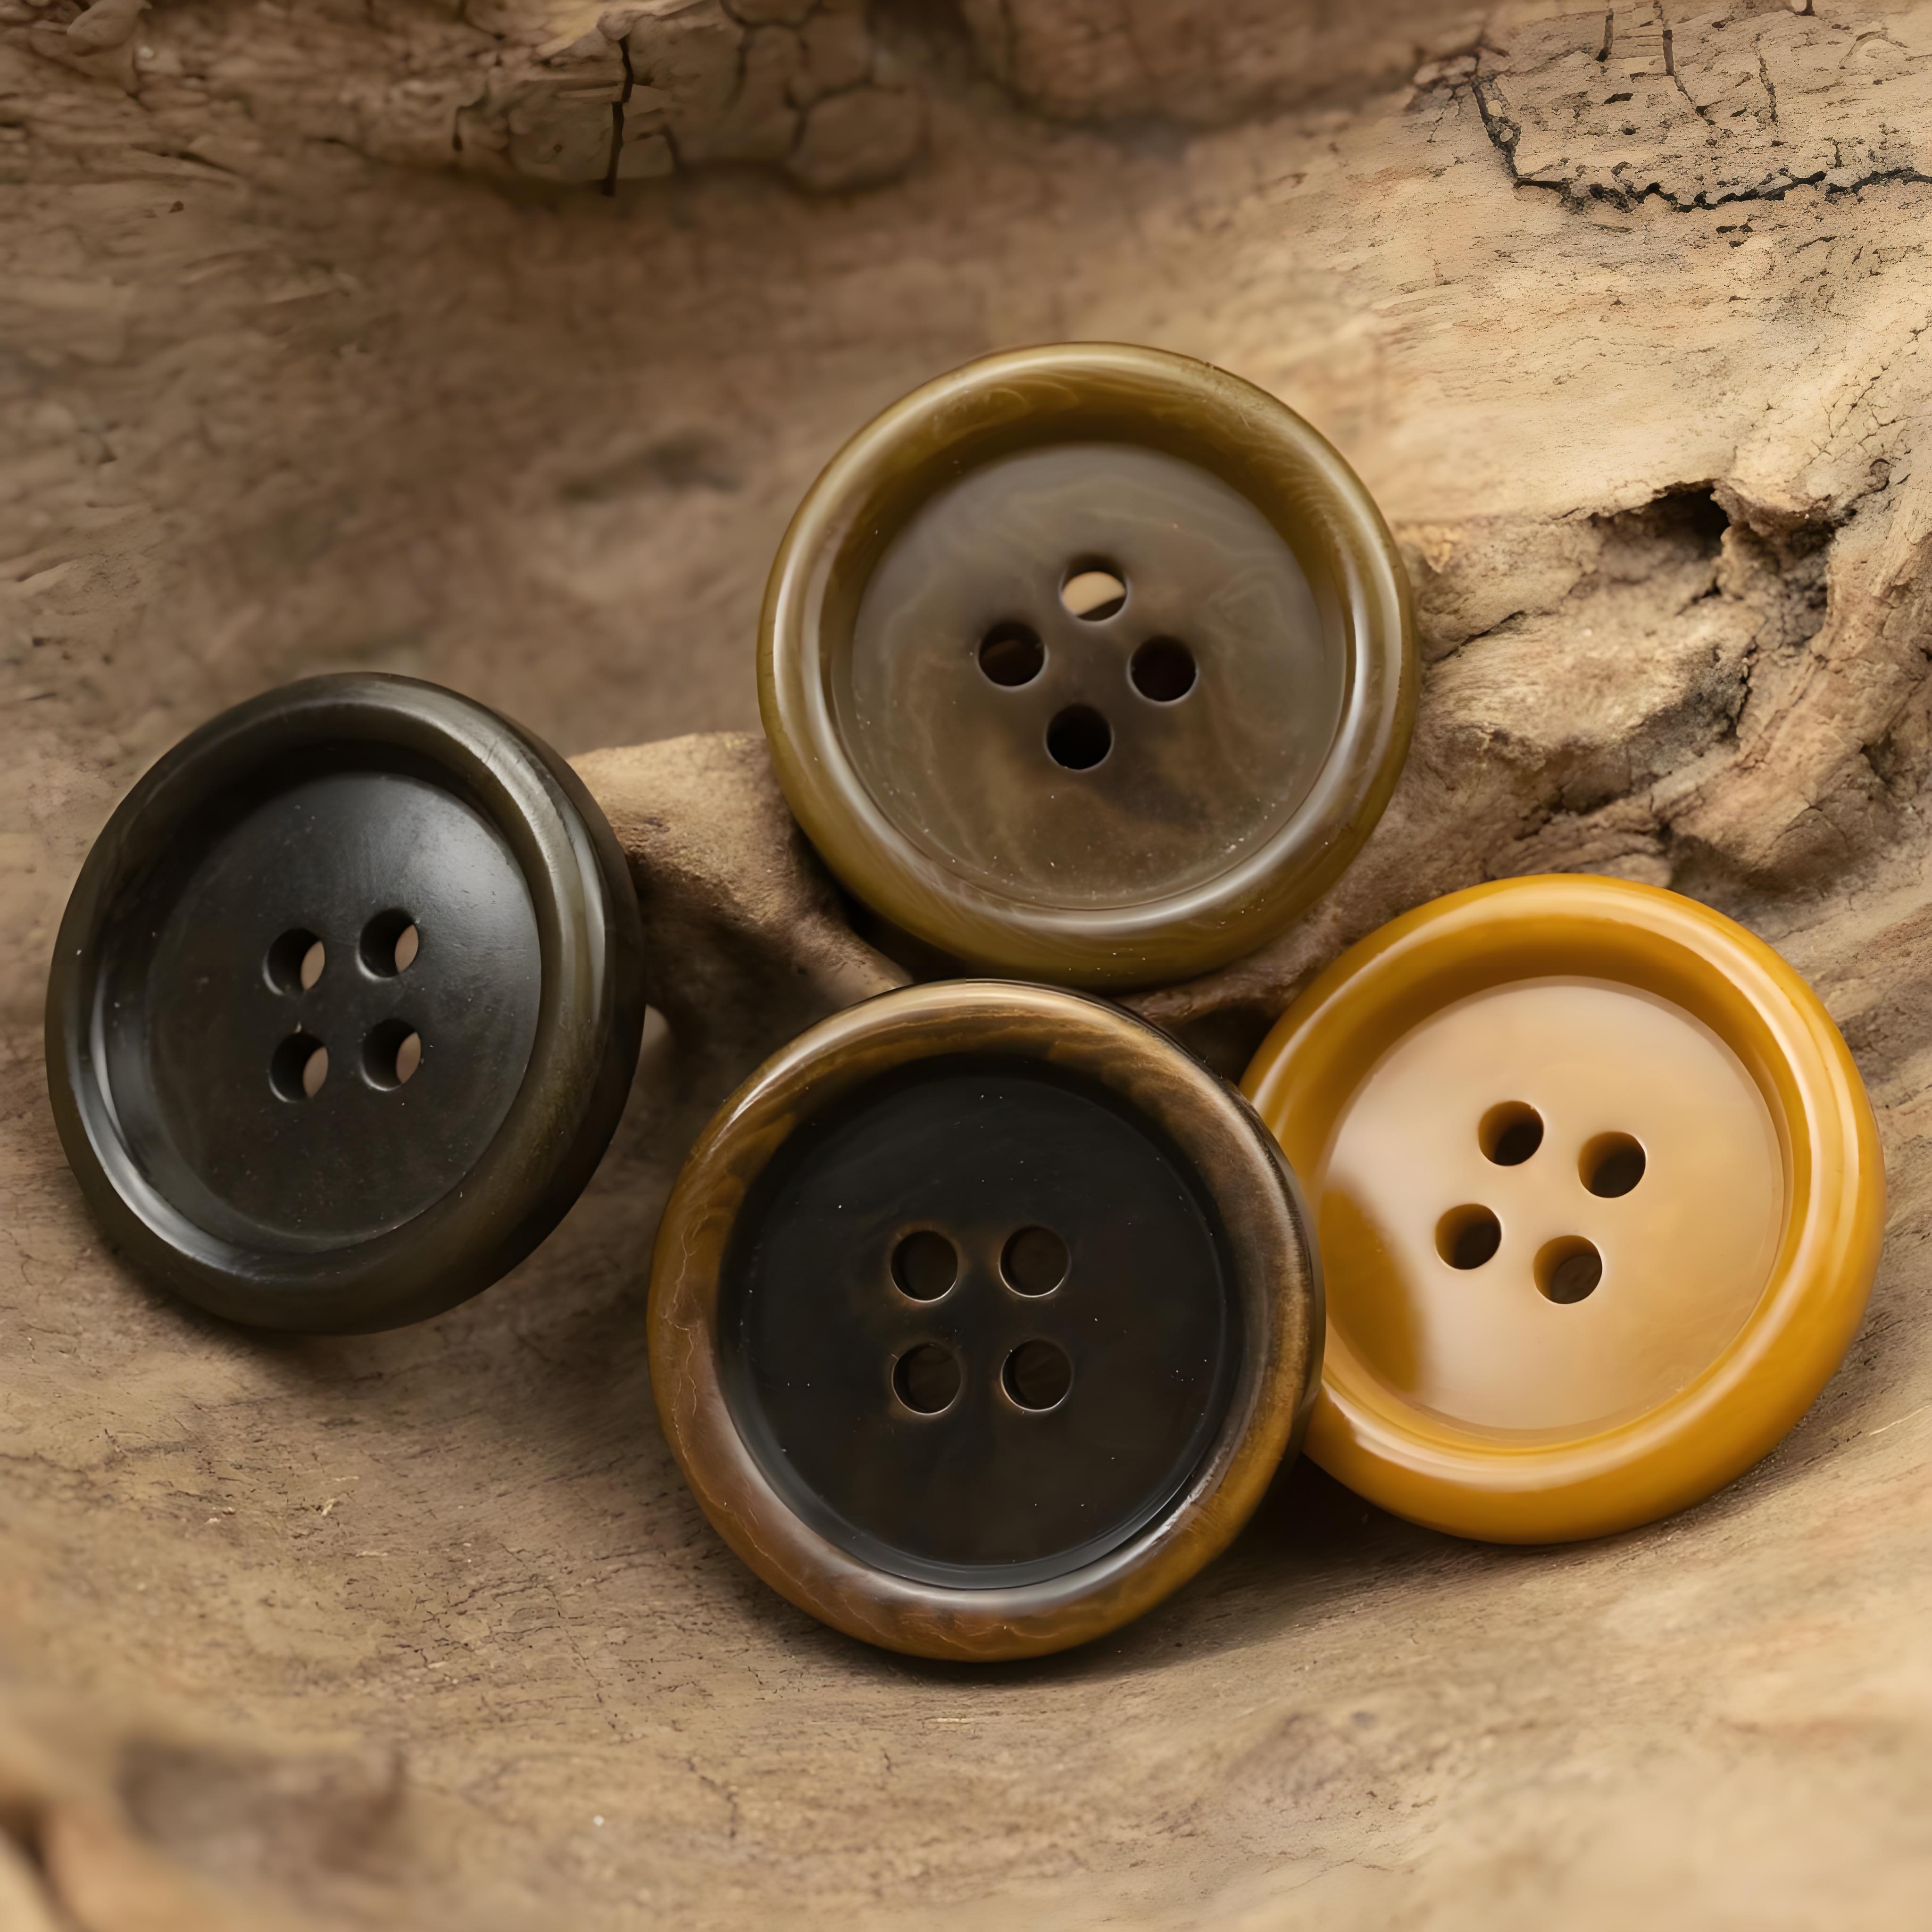
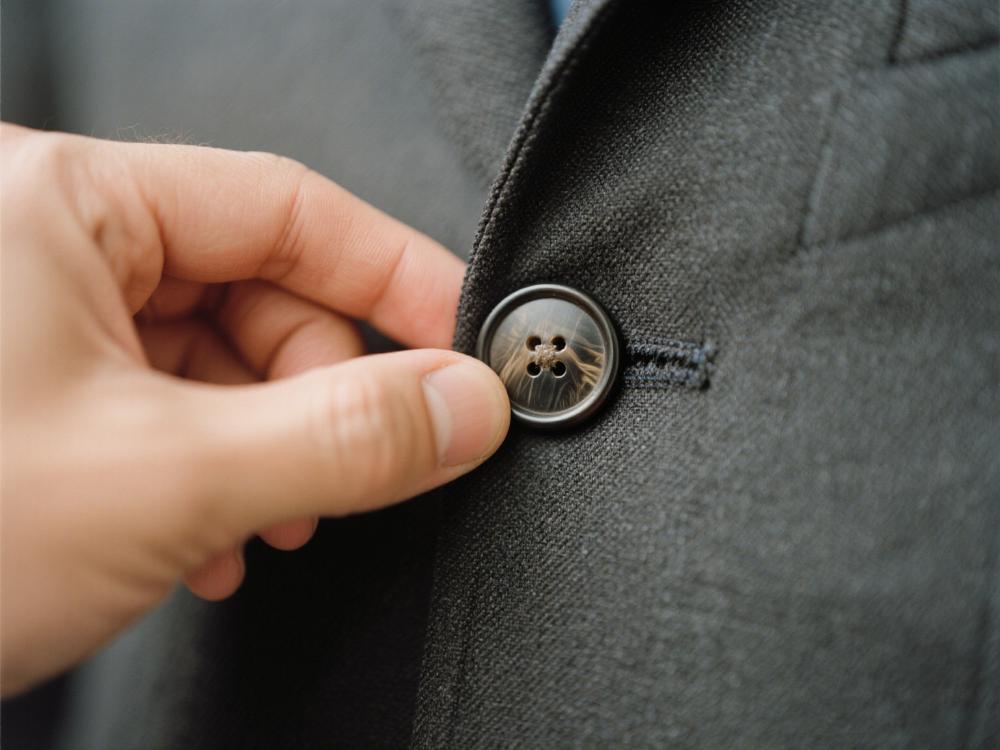
Horn buttons, shaped distinctively like a bull's horn, have long been a favored choice for various types of clothing, especially classic overcoats and cozy knitwear. They are far more than just functional fasteners; they are a style statement. These buttons add a touch of sophistication and elegance, elevating the overall aesthetic of the garments they adorn.
While ready - made horn buttons are easily accessible in the market, crafting your own custom ones offers a world of possibilities. You can precisely match the color, size, and design to your specific project requirements. Whether you're a fashion designer working on a groundbreaking collection or a DIY enthusiast eager to personalize your wardrobe, creating custom horn buttons is a gratifying and highly creative experience. In this blog, we'll walk you through each step of the process, from initial design to the final polished button.

Materials You'll Need
-
Base Material: The choice of base material is crucial, as it sets the foundation for your custom horn buttons. Resin is a popular option due to its malleability and the ease with which it can be colored to imitate the look of genuine horn. If you prefer natural materials, legally sourced real horn can provide an authentic and unique texture. Wood offers a warm, rustic charm, while high - quality plastics are a durable and cost - effective alternative. For those with an eye on sustainability, bamboo - based materials are an excellent choice, combining eco - friendliness with a unique aesthetic. Each material has its own set of characteristics, allowing you to tailor your buttons to your specific style and needs.
-
Dye or Pigment: To add a splash of color to your horn buttons, you'll need dyes or pigments that are compatible with your chosen base material. When working with resin, there is a wide range of resin - specific dyes available. These dyes can be used to create solid, vibrant colors or to experiment with gradients and patterns, adding an artistic flair to your buttons.
-
Molds: Shaping your horn buttons requires molds, which can be either purchased or handmade. Silicone molds are particularly popular because of their flexibility. They make it easy to remove the finished buttons without causing any damage. You can find molds in a variety of shapes, from classic rounds and ovals to more intricate and elaborate designs. If you're feeling adventurous, you can create your own molds using materials like plaster or clay, allowing for even more customization.
-
Tools: A set of basic tools is essential for this project. A stirring rod is needed to thoroughly blend the resin and dye, ensuring an even distribution of color. A measuring cup helps you accurately measure the amounts of resin and other components, guaranteeing consistent results. For pouring the resin into the molds, a small pouring container or a syringe can be extremely useful. Additionally, depending on the resin - curing process, you may need a heat source such as a heat gun or a low - temperature oven.

Step - by - Step Guide to Making Your Custom Horn Button
Step 1: Design Your Button
The first and most exciting step is to design your horn button. Consider the garment it will be paired with. For a traditional overcoat, a classic round or oval horn - shaped button will likely complement the style perfectly. However, if you're working on a modern or avant - garde piece, don't be afraid to think outside the box. Experiment with unique geometric shapes, or add decorative elements like grooves, ridges, or embossed patterns. Sketch your ideas on paper or use graphic design software to create a detailed digital mock - up. This visualization will help you fine - tune your design and make any necessary adjustments before starting the actual production.
Step 2: Prepare the Material
If you're using resin, carefully measure the appropriate amount based on the size of the buttons you intend to make. Pour the resin into a clean, dry container. If you plan to color your buttons, this is the time to add the dye or pigment. Use the stirring rod to mix the components thoroughly until the color is uniformly distributed. Make sure there are no lumps or streaks, as these can affect the final appearance of the buttons. If you're using natural materials like wood or horn, you may need to sand and smooth the surface to create a clean canvas for the next steps.
Step 3: Pour the Material into the Molds
Once your material is prepared, it's time to pour it into the molds. Do this carefully, filling the molds to the brim. Pay close attention to avoid air bubbles, as they can mar the surface of the finished buttons. If air bubbles do form, gently tap the mold on a flat surface or use a toothpick to pop them. If you're using a two - part mold, ensure that it is closed properly and securely fastened to prevent any leakage.
Step 4: Cure the Material
The curing process varies depending on the material you're using. If it's resin, follow the manufacturer's instructions closely. Some resins cure at room temperature, while others require heat. When using heat, use a heat gun or place the molds in a pre - heated oven set to a low temperature. Be cautious not to over - heat the resin, as this can cause it to crack or discolor. Natural materials like wood may not require a traditional curing process, but if they are damp or freshly cut, you'll need to let them dry completely.
Step 5: Remove the Button from the Mold
Once the material has fully cured, it's time to free your buttons from the molds. If you're using a silicone mold, gently flex it to release the button. For a two - part mold, open it carefully. If the button is stuck, a small amount of release agent or a gentle pry with a thin tool like a butter knife can help. Take your time and be gentle to avoid any damage to your hard - earned creation.
Step 6: Finish and Polish the Button
After removing the button from the mold, you may need to add some finishing touches. Use sandpaper to smooth any rough edges, and for an even more polished look, switch to a fine - grit sandpaper. To achieve a high - shine finish, apply a polishing compound or wax. If you want to add extra protection or a unique look, consider applying a coat of varnish or a protective sealant.

Conclusion
Making custom horn buttons is an incredibly rewarding way to infuse your personal style into your clothing. With the right materials, a spark of creativity, and a bit of patience, you can create buttons that are not only functional but also miniature works of art. Whether you're enhancing your own wardrobe or starting a small - scale business, the process of creating custom horn buttons allows you to express your creativity and attention to detail. So, gather your materials, let your imagination run wild, and start creating your own unique horn buttons today!

Dongguan Fengcai Button Co., Ltd. founded in 2009, is an integrated of research and development, production and sales service and well-known large garment accessories enterprises, which is located in the famous international manufacturing city--Dongguan city of China. Fengcai Button adheres to the goals of collectivization and international development, always value "quality of survival, credibility of development, efficiency to win market" business strategy, with its strong R&D and marketing capabilities, currently worked as China button manufacturing industry leading ranks.
"Quality decoration to achieve classics" is same faith of Fengcai Button!


What Are Horn Buttons?
How to Make Resin Buttons
Related Article