How to Make a Wooden Button
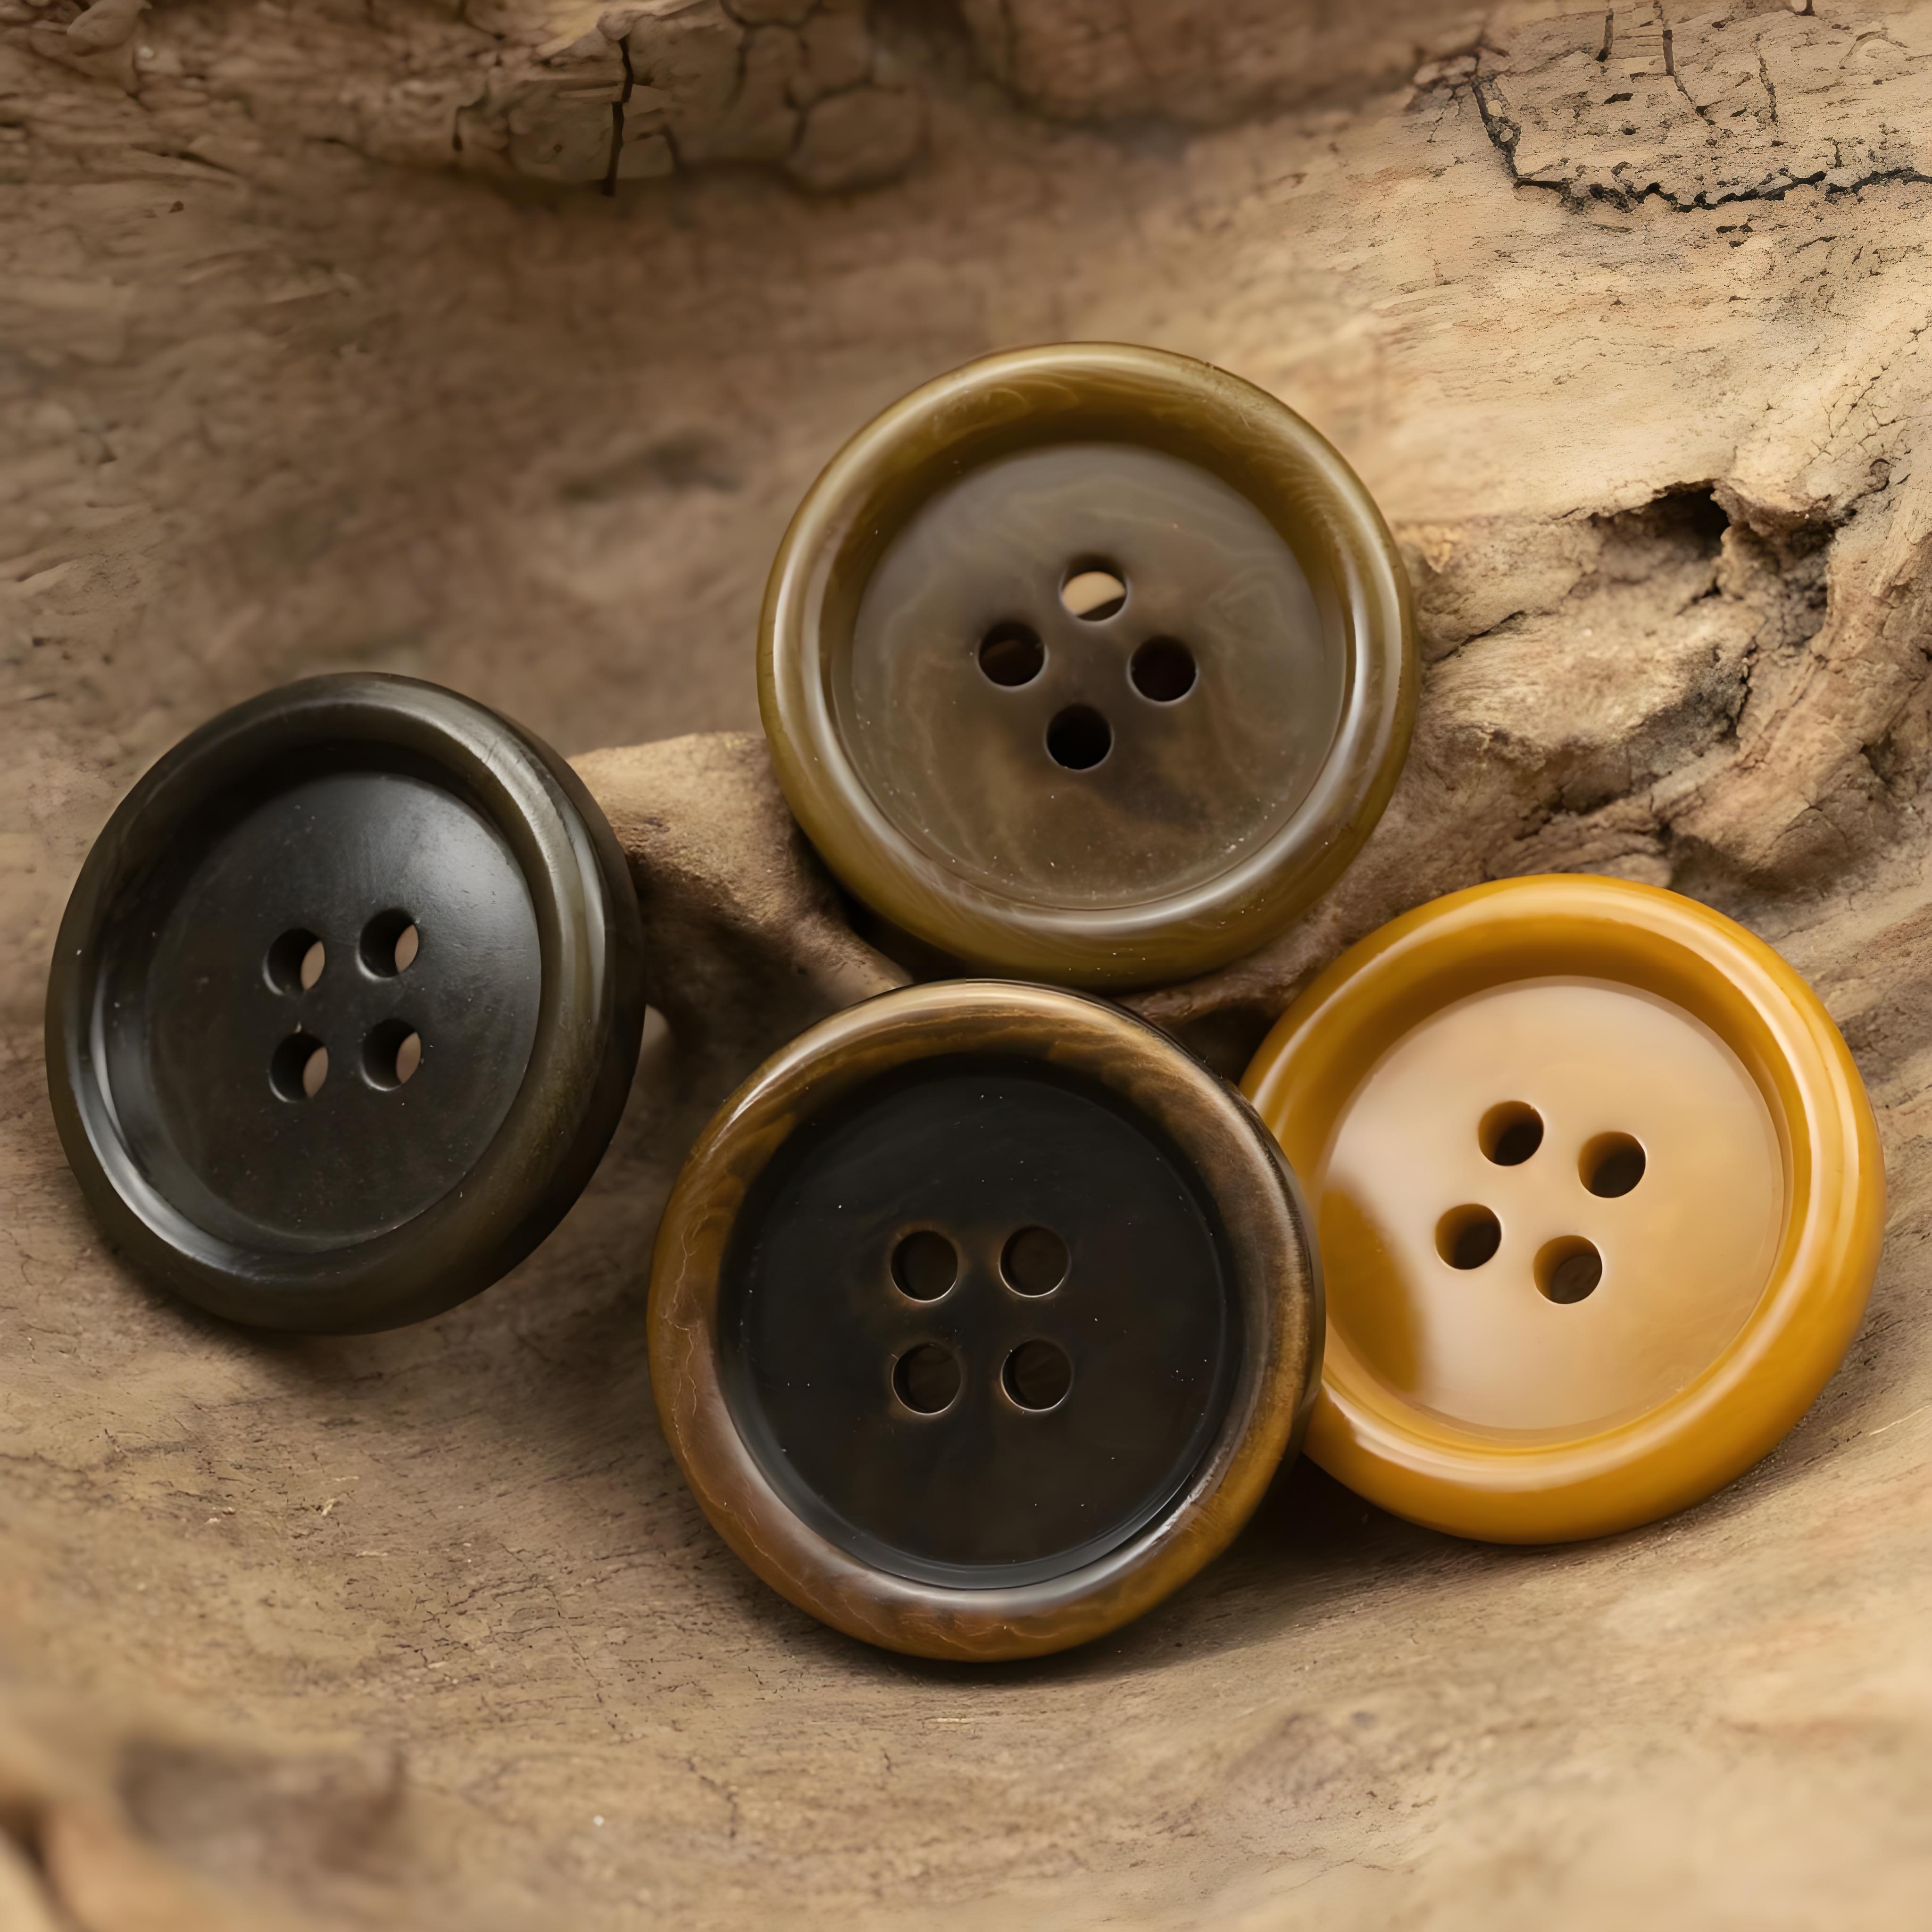
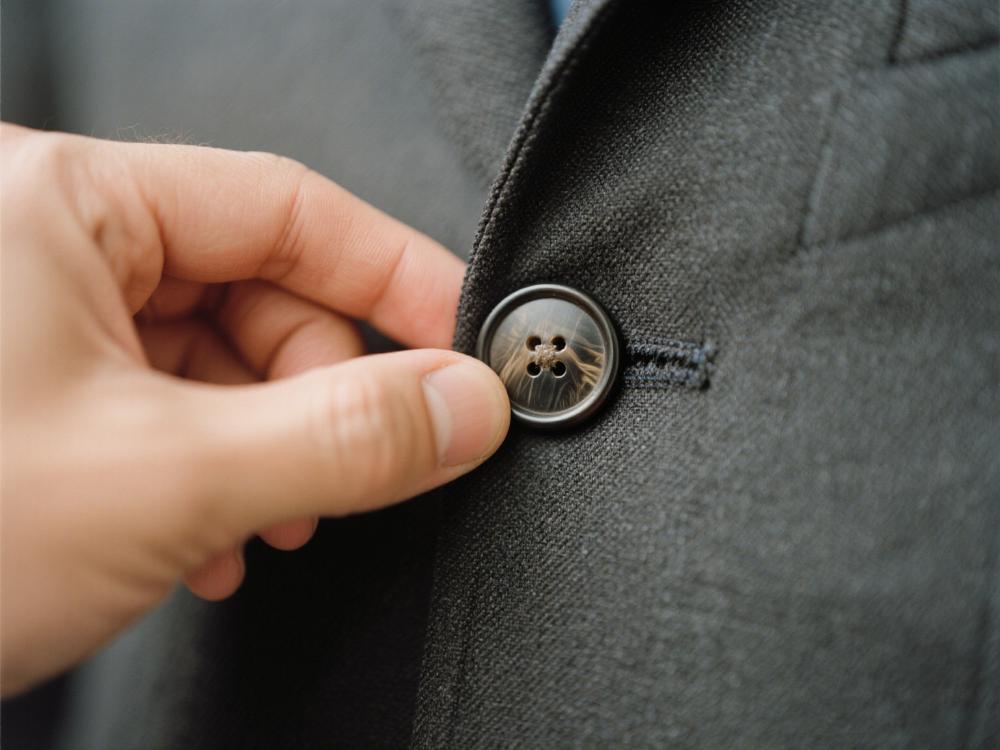
Wooden Button
Introduction
Wooden buttons add a unique, natural touch to your clothing and crafts. Making them by hand allows you to customize the size, shape, and design according to your preferences. In this blog post, we'll guide you through the step - by - step process of creating your own wooden buttons.

Materials You'll Need
-
A block of hardwood (such as oak, maple, or cherry). Softwoods may not be as durable for buttons.
-
A sharp knife or a small saw for cutting the wood.
-
A drill with a small - diameter drill bit, depending on the size of the button holes you want.
-
Sandpaper in various grits (e.g., 80, 120, 220, 400) for smoothing the surface.
-
Wood finish (such as varnish, oil, or shellac) to protect the wood and give it a nice sheen.

Step - by - Step Instructions
Step 1: Cut the Wood
-
First, measure and mark the size of the button on the block of wood. For a standard - sized button, a diameter of about 1 - 2 centimeters is common.
-
Use a sharp knife or a small saw to carefully cut the marked - out circle from the wood block. If using a knife, make sure to cut slowly and steadily to get a smooth edge. If using a saw, be cautious and follow proper safety procedures.
Step 2: Shape the Button
-
After cutting the circle, use sandpaper with a coarse grit (like 80) to start shaping the button. Round off the edges and make the surface flat.
-
Gradually move to finer - grit sandpapers (120, 220, and then 400) to smooth the surface further. This will give the button a professional, polished look.
Step 3: Drill the Holes
-
Decide on the number of holes for your button. Two - hole and four - hole buttons are the most common.
-
Use a drill with a small - diameter drill bit to create the holes. Mark the positions of the holes first, and then drill carefully. Make sure the holes are straight and go all the way through the button.
Step 4: Finish the Button
-
Apply a coat of wood finish to the button. This will protect the wood from moisture and wear. You can use a brush, a cloth, or even spray the finish, depending on the type of finish you have chosen.
-
Let the finish dry completely. Depending on the type of finish, this may take a few hours to a day.

Conclusion
Making your own wooden buttons is a rewarding DIY project. It not only allows you to add a personal touch to your sewing and crafting projects but also gives you a sense of accomplishment. With the right materials and a bit of patience, you can create beautiful, one - of - a - kind wooden buttons that will last for a long time. So, why not give it a try?

Dongguan Fengcai Button Co., Ltd. founded in 2009, is an integrated of research and development, production and sales service and well-known large garment accessories enterprises, which is located in the famous international manufacturing city--Dongguan city of China. Fengcai Button adheres to the goals of collectivization and international development, always value "quality of survival, credibility of development, efficiency to win market" business strategy, with its strong R&D and marketing capabilities, currently worked as China button manufacturing industry leading ranks.
"Quality decoration to achieve classics" is same faith of Fengcai Button!


How to Recycle Buttons
Are Shell Buttons Sustainable
Related Article